

Faster, Smarter, Better: MySeat’s Automated Sensor Programming
Boosting Business Efficiency: MySeat's Innovative IoT Sensor Setup
Electronic | IOT
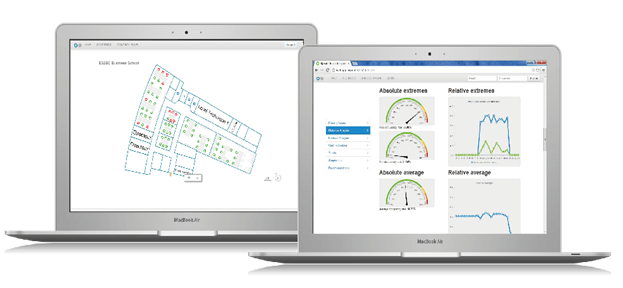
MySeat develops and sells space utilization analysis services for businesses. The goal? To measure if workspaces are properly sized, validate the usage and size of meeting rooms, and know how many employees could be hired before having to change premises

Project
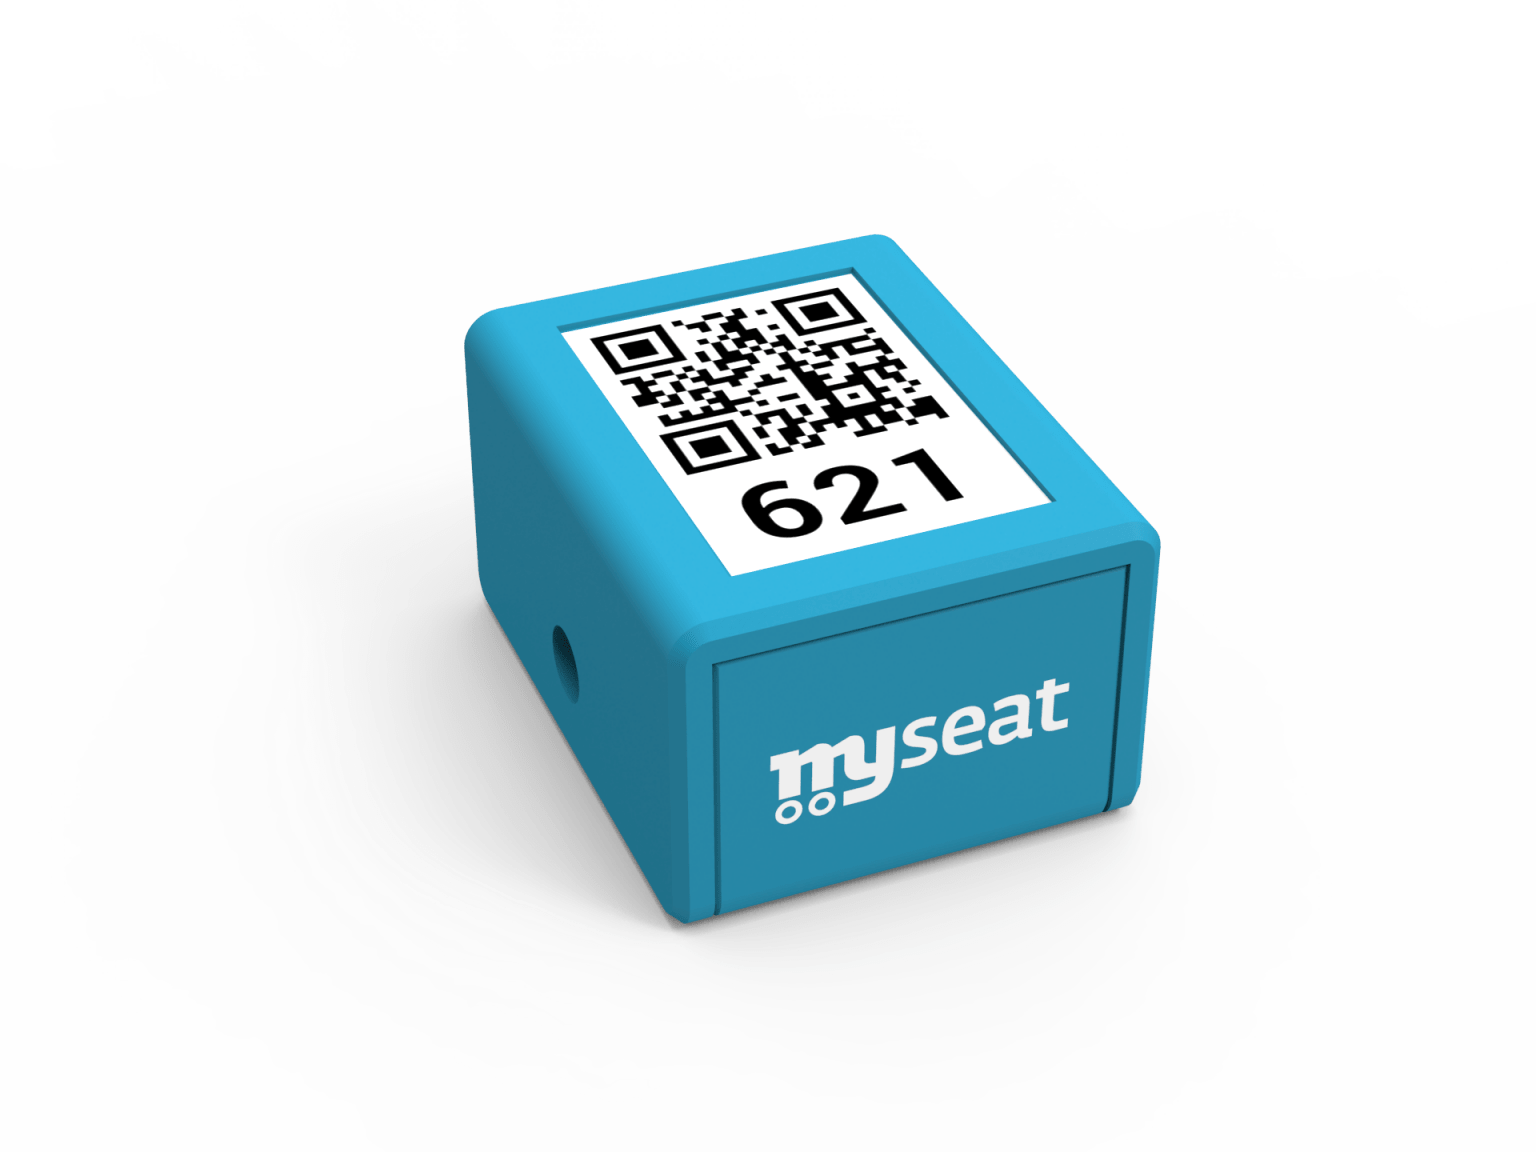
MySeat sells / rents and needs to deploy hundreds of IoT sensors to equip workspaces. A tedious step is the programming and deployment of these sensors. I have participated in deployments of 800 sensors to be completed in a single night, which is no small feat. Furthermore, each sensor must be programmed specifically for each client.
To simplify this procedure, I was able to create an automated programming bench connected to a label printer to print QR codes containing a unique identifier for each sensor. The QR code is then attached to the sensor housing and allows each sensor to be identified via a web application accessible via phone.
The Programming Bench
The Result

Do you have a project or need information?
Don't hesitate to contact us !
![]() contact@torrusvr.com
contact@torrusvr.com
![]() Bordeaux / Paris (FR)
Bordeaux / Paris (FR)

Development of Immersives Technologies
Site map
Home
Services
Portfolio
Action Game
Immersicase
Blog
Legal Mention
Immersives Technologies
Virtual Reality (VR)
Augmented Reality (RA)
Metaverse
Computer Vision
Projection Mapping
Video Games
Contact
contact@torrusvr.com
